
A 5-Step Guide to Master Bound Extended Angle Pose
Bound Extended Side Angle Pose, or Extended Side Angle with a full bind, is one of the most challenging fundamental yoga poses. Because this pose demands open shoulders and hips and puts you in a position many of the fancy poses require, it educates the body on the “what’s next” in your yoga practice.
It’s best not to plow past this important pose in a quest to get to a “fancy” pose faster. In other words, it’s important to complete all the steps of bound angle pose and find proper alignment.
Because this pose puts you in a position many of the fancy poses require, it educates the body on the “what’s next” in your yoga practice.
We have a tendency to get the bind, but not fully complete the expression of the pose. Ideally, the expression results with your heart lifting to the sky, the top shoulder rolling back, and a deep opening in your front hip.
Taking the extra time to make sure you’re enacting all parts of proper alignment will give you the mobility you need to advance in this pose – and on to other poses too. Read on for five steps on how to access Bound Extended Side Angle Pose.
Warm Up With This Flow Before You Jump Into the Full Bind In Extended Side Angle
A good warm-up of lunges, sun salutations, and twists will help you get your hips and shoulders more mobile.
Follow These 5 Steps to Access Bound Extended Side Angle:
In Sanskrit, “baddha” means bound, and “kona” means angle. Sometimes referred to as Bound Extended Side Angle, this pose takes time and patience to acquire.
Here are five steps to find a deeper expression of Baddha Konasana. Practice and all is coming!
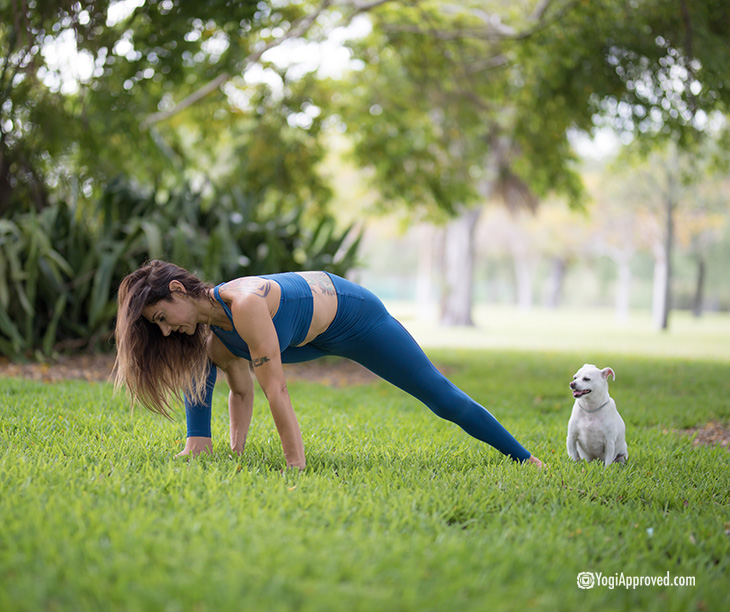
Step 1. Start in Extended Side Angle Pose
Extended Side Angle is a staple pose in any yogi’s practice. It demands a lot of lower body strength to hold, and it’s also a big hip opener. When performed properly, this pose is also a spinal twist . . .

How to do it:
- Start in a Warrior 2 stance with the feet
- The bent knee should never pass nor cave to the inside of the toes
- Ground down through the outer edge of the back foot
- Tilt the arms to come into Extended Side Angle with bottom hand inside the foot reaching towards the floor (for purpose of where we want to go)
- Use the elbow to press the knee open while you tuck the pelvis, creating resistance to open the hip
- Top arm reaches up and overhead, palm facing down
- Spin the chest open to the sky, creating a mild twist
Pro tip: If your back hip pops up and you round the spine to get the hand to the earth (a common misalignment), lower and open the hips as you lift the chest and lengthen the spine. Stay at this step for as long as it takes – there’s no rush.
Looking for more yoga tutorials and yoga tips? Check out our full library of Yoga articles here
Step 2. Start the Bind
This is the hardest part for some of us, so take it slow and know that time and practice will lead to progress!
How to do it:
- Take the top hand down to the ground and work the back shoulder through
- By through meaning take the shoulder behind the knee like your trying to fit into a tiny package
- Lift the back inner thigh
- Ground down the outer edge of the back foot
Pro tip: If you lift the back hip up and round the upper body down it will help you to get in there. Once you get into the bind, then re-adjust the alignment. If you cannot re-adjust the alignment you went too far. Unwind a little and refine your position.
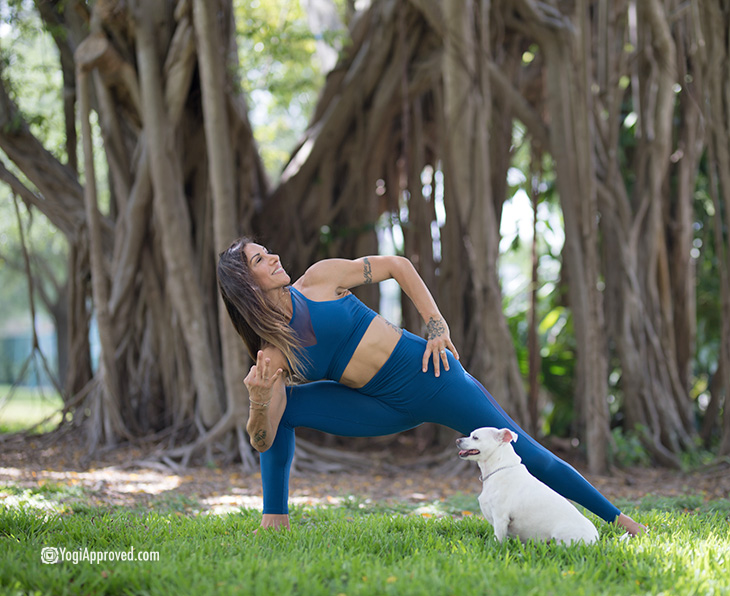
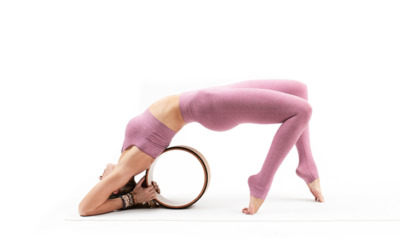
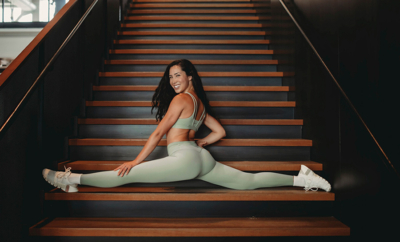
3. Use a Yoga Strap
. . . Or in my case, a dog leash – work with what you’ve got! You can also substitute a belt or scarf for a yoga strap – whatever works to help you bridge the gap between the two hands behind your back.

How to do it:
- Take your strap in your top hand and whip it behind the hip
- Make sure your top shoulder is rotating back
- Turn your heart to the sky
- Look up
- Strap should be falling down towards the ground behind the front hip
- Bend the top elbow to angle the strap where you want it
Pro tip: It is important that the strap is around the hip, not in the butt crack – no G-strings please! LOL! (See image #3)
4. The Reaching Hand is the Grabber
This is how we begin to find the full bind! You’re so close!

How to do it:
- The bottom arm reaches under the body and grabs the strap
- Lean in and under to get a hold of the strap
- Walk the hands closer and closer down the strap, slowly gaining more range of motion in the shoulders and hips
- You will probably feel the burn everywhere! Yes, that’s good
Pro tip: Make sure you are not contorting your pose just to get the hands closer. Patience! Stay long, lengthened and lifted. Hunching through the chest is a sure sign you went too far. You may lean in a bit to get the bind, but you should be able to realign.
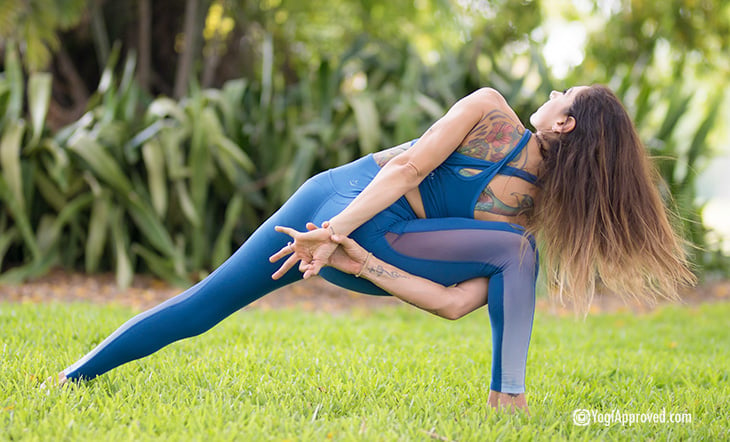
5. You Are Here!
As a reminder, this pose won’t happen overnight, so getting to #5 may take quite some time, and that’s ok! Enjoy the process, honor your body, and know that you’ll get here eventually with patience and practice.

How to achieve it:
- Eventually you will find your fingers and claps the hands
- And finally, once you open the body, you’ll be able to walk your hands close enough for your reacher hand to grab the top wrist
- Relax and pull the top shoulder back with the grip of the bottom arm
- Pull downwards with the bottom arm
- Pull the belly in
- Twist the heart open
- Look up
Pro tip: I like to practice Chin Mudra in reminder of the goal of yoga, union. You are not doing the pose. You ARE the pose.
Achieving the Elusive Full Bind in Bound Angle Pose (Baddha Konasana)
Be patient in your quest for this more advanced pose. Remember that once you are “there” you will be looking for another “there” to go to – so enjoy the journey! It’s the ride thats the fun part, not the destination.
So have fun falling, failing, burning, and flowing. And if you don’t get there in a year – I promise you will have learned some priceless lessons along with invaluable information about yourself. So much so, that it won’t even matter if you got to the final position or not.
Coming from someone who started yoga at a size 17 and barely able to walk with a knee disability – I PROMISE YOU – you CAN do it. It may take time, perseverance, cursing, and some occasional offsets – but if you want it, like anything, you can get it.
Trust, visualize, and believe.
This article has been read 2K+ times. Feelin’ the love!
You May Also Enjoy
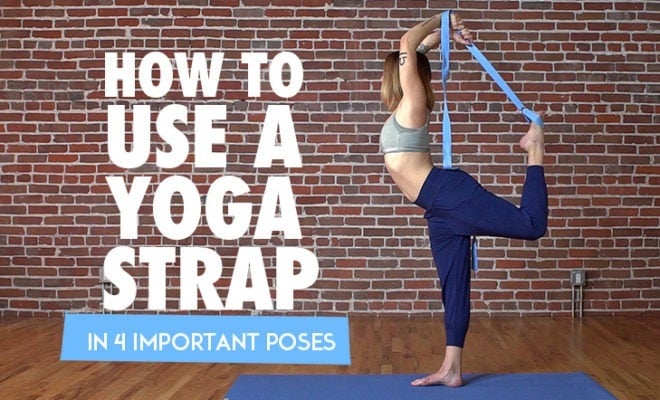
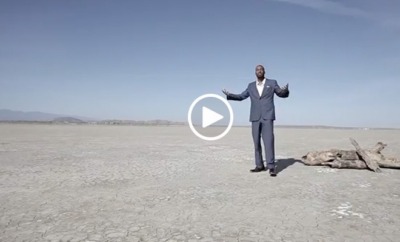
Yoga straps can help you deepen into yoga postures. Watch this video tutorial to see four yoga poses you can practice using a yoga strap.
Read »

Don't Miss These


This Month's Letter
From the Editor
Monthly motivation and food for
thought from our founder.


Comments