
What Is MFR? Here’s Your In-Depth Guide to Self Myofascial Release
Your body is composed of much more than just muscle and bone.
Fascia is an interconnected system within the body that moves from superficial to deep to visceral. It is one, continuous layer of connection that exists in the body from head to toe, front to back, and side to side.
This fascia surrounds your bones and organs. It connects bone to bone and muscle to bone. It surrounds groups of muscles and individual muscles – down to every last muscle spindle.
Your fascia plays a huge role in how your body interprets the world around you and in how your body communicates.
Within the last decade, fascia has become an important aspect of research for movement professionals and scientists all over the world. Through the study of fascia, we are learning the important role it plays in our ability to adapt and become resilient as a species.
Want to learn more about fascia? Read: Here’s Your Comprehensive Guide to Fascia
How Can We Affect Fascia? What Is Self Myofascial Release?
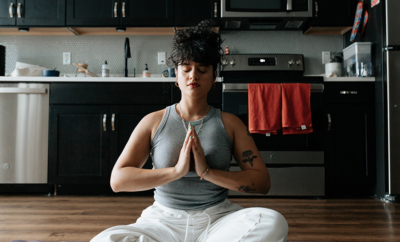
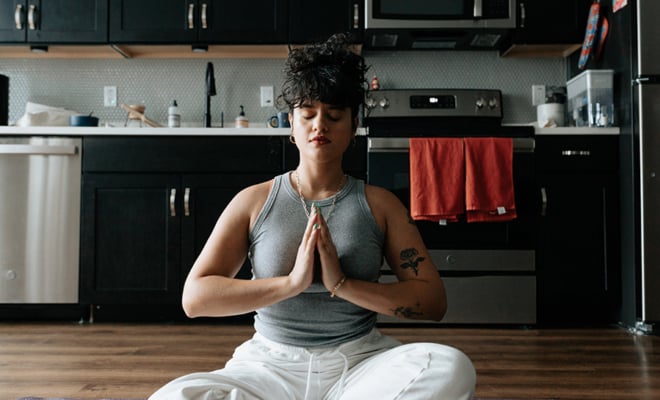
Self myofascial release is a practice that uses tools to target the fascia within your body.
When applied, we can begin to unwind areas of holding, tension, and stress. We can improve blood flow and circulation.
We can improve range of motion and enhance mobility. We can become more relaxed and at ease within the body.
There’s a variety of tools that can be used in self myofascial release and include:
- Myofascial release balls
- Yoga blocks
- Foam rollers
- Massage tools and many more
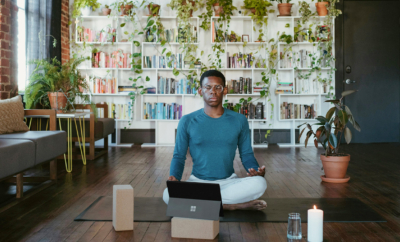
For the purpose of this article, we will focus on therapy balls, the best practices, techniques of application, and how self myofascial release might complement your yoga practice.
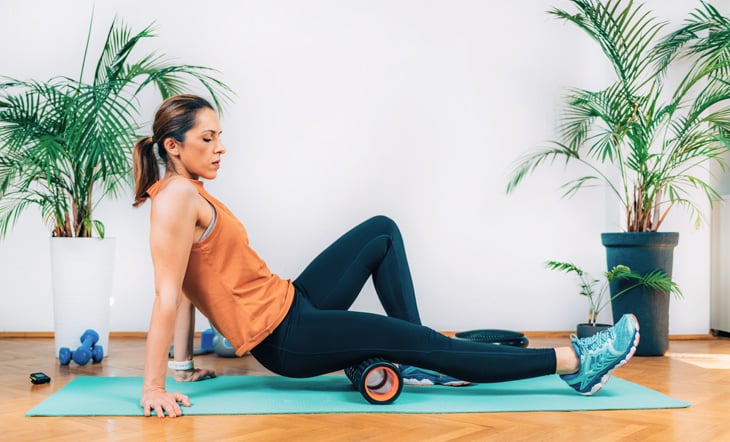
Benefits of Using Foam Rollers + Tips to Get You Started (Video Tutorial)
Before You Start Self Myofascial Release, Here’s How to Choose the Right Tool:
Find a therapy ball that works for you. Oftentimes, people start out with the convenience of a tennis ball, which is great.
However, there are tools available to you that have been engineered and designed to work specifically with your fascia (such as Rad Roller). Investigate your options.
When choosing a tool here are a few things to consider:
1. Size Matters
The smaller the size, the more precise and accurate the location. This can also mean the smaller the tool, the stronger the sensation.
2. Consider Density
The firmer the therapy ball, the less give it will have into your skin. This might also mean the higher the density, the stronger the sensation.
For example, if you have an area in your body that is typically tender or tight, it would be recommended to start out the practice with a larger and softer ball.
3. Pay Attention
When you use a tool, make sure it works for you. Check in with yourself. Is your body holding? Is your breath flowing? Are you able to relax your body into the tool?
If the answer to any of those questions is no, you might be creating more tension in your body, which is counterproductive to the practice. Instead, try switching up your tool to something that feels more tolerable.
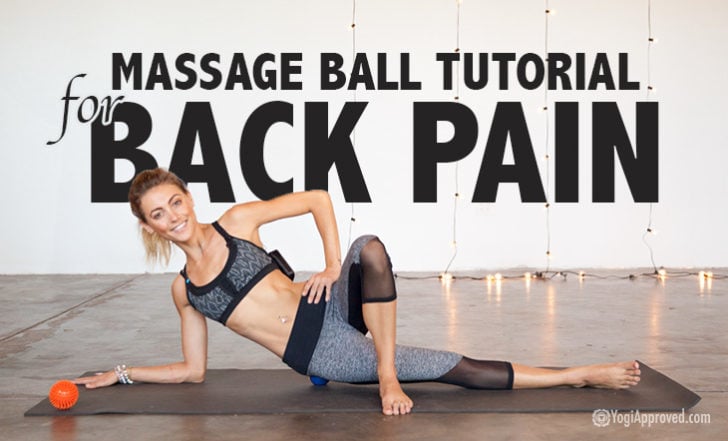
How to Use a Massage Ball to Relieve Back Pain (Video Tutorial)
Before You Get Started, Be Sure to Know These 3 Best Practices for Self Myofascial Release:
When practicing myofascial release there are some important things to consider:
1. Always Breathe
The breath is the key to creating a shift within your body.
When we are breathing with ease, we can create a more welcoming environment within our body to relax and unwind. Alternatively, when we are holding our breath, we are actually creating more tension.
2. Don’t Cause Pain
When applying the tools on your body, it should never be sharp, shooting, or painful. This practice is not a “no pain, no gain” mentality.
We never want to create more pain or push through pain. If you feel a little tenderness or dull achiness, it’s probably okay. But anything more is likely too much. Help prevent your body from contracting or “guarding” by going easy.
Work around the “hot spots.” Remember that this is not about “no pain, no gain.”
If you find a “hot spot,” instead of placing your tool directly on it, try working around it (above, below, or side to side). This will help to increase blood flow and circulation into the area and to promote any healing that needs to happen.
3. Modify, Modify, Modify!
Know your modifications. When practicing self myofascial release, always aim to find a tool and technique that is workable for you. If it’s too much, then try working with a larger or softer tool.
If working with a therapy ball specifically, you could try adding another ball to disperse the pressure. You can also modify by adding a blanket over the tools, use less body weight, or you could try to modify at a wall.
Here’s Your Step-by-Step Guide to Perform Self Myofascial Release:
Now that you’re familiar with the tools and best practices, let’s learn a little more about the techniques.
For the purpose of this article we are going to start at the feet. In general, the feet are a great place to start. We can actually benefit the whole body just by rolling the feet.
Let’s get started!
1. Observe
Let’s try it:
- Begin in Tadasana (Mountain Pose) and scan the way your feet land on the ground
- Notice your heels, arches, and the way your toes are spreading
2. Compress
Let’s try it:
- Using a therapy ball of your choice, begin by stepping your heel onto the ball using your body weight to apply a tolerable amount of pressure (this is known as compression)
- Take three to five breaths
- This will help to hydrate the tissue and release built-up tension
- Maintaining the pressure, begin to rock your heel side to side over the ball as if you were digging the ball into the ground
- Notice your breath and notice sensation
- This will help to unwind the tissues
- Move to the ball of your foot and repeat the compression and cross fiber technique to mobilize the joints of your toes
-

- MFR2
-

- MFR1 1
- Beginning at the ball of your foot, roll slowly with pressure from the ball of your foot toward your heel, massaging into the arch of your foot
- Then use a light pressure to drag back to the ball of your foot
- Use pressure toward your heel in the direction of your heart and a light pressure back to the ball of your foot
- This will help to enhance blood flow and circulation
- Using a very light touch onto the therapy ball, roll all over the bottom of the foot in a quick movement
- Continue this technique for 60 seconds
- This will help to enhance proprioception (connection to where your body is in space), to stimulate lymphatic flow, healing, and to clean up the area of toxins, getting rid of what the body doesn’t need
- Come off the tool and observe the difference from side to side
- Notice the arch of your foot, your heel, and the ways your toes are spreading
- Notice even the imbalance from side to side in your feet
- This is a huge part of the body’s ability to integrate proprioception and interoception (connection to what’s happening on the inside)
- Tune into the sensations around your body and the experience within your body
- Repeat steps one through six on the second side
- After you finish, take a moment to come back to Tadasana (Mountain Pose) to observe and notice the differences in your footprints as they land on your mat
- After rolling, follow up with a static release such as Downward Facing Dog
- You may wish to move through a dynamic flow such as a Sun Salutation to integrate the work all throughout your body
3. Cross Fiber
Let’s try it:
4. Roll
Let’s try it:
5. Scribble
Let’s try it:
6. Observe
Let’s try it:
7. Repeat
Let’s try it:
8. Move
Let’s try it:
Need more self myofascial release practices? Here’s How to Use a Foam Roller to Relieve Low Back Pain (Video)
The Takeaway on Self Myofascial Release
When it comes to self myofascial release, consistency is key. When we make this practice a regular practice (rather than only as needed), we can create a shift within our tissues.
When it becomes a daily habit similar to brushing your teeth, it can have a lasting impact on mobility and connection within your practice.
You can use these techniques in combination with your asana practice to enhance the effects of your yoga practice. The opportunities are endless when it comes to self myofascial release.
It’s the intention and the purposeful attention we create that can really make a difference. Give it a try and let us know how it goes!
Try Self Myofascial Release for Yourself
For more information on using myofascial release in your asana practice, practice Release with me on YA Classes!
This article has been read 4K+ times. Feelin’ the love!
Don't Miss These


This Month's Letter
From the Editor
Monthly motivation and food for
thought from our founder.


Comments