
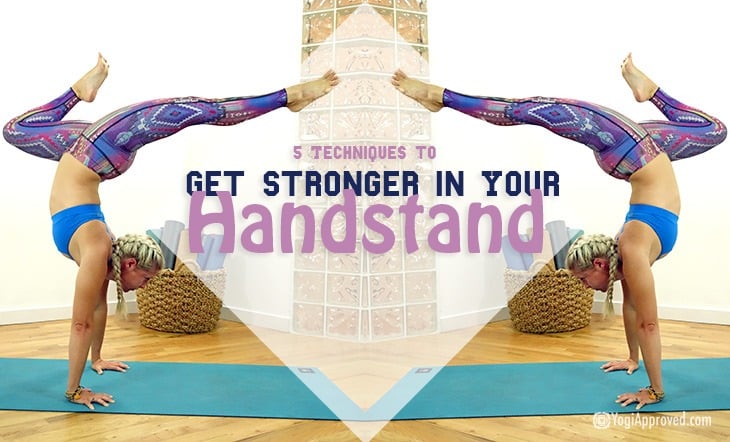
5 Techniques to Get You Stronger in Your Handstand
Your handstand can be one of the best teachers you will ever have. The road to finding a handstand will include fear, doubt, frustration, joy, and achievement. Like your yoga practice as a whole, your handstand practice can be a journey – and if you currently have a handstand practice, you already know the road
If you are just beginning your handstand journey, you can practice these variations to build strength and get comfortable with the basic form.
Remember that it’s important to be patient and take the necessary steps to build strength and alignment.
Below are a few different variations of a handstand using and not using the wall. These handstand variations are great to build off one another. Practice each until you feel comfortable enough to progress to the next.
Safety always comes first, so please use props or a spotter when needed (walls and friends work great). It is so important to find the proper alignment when you are upside down to avoid injury and to stay safe, so please give your body and mind the time to learn and grow.
Don’t forget the rest of your yoga practice: find your breath, check in with your body/mind, and give yourself the attention and love you deserve. A proper warm-up with a focus on the core and shoulders is very important before getting upside down. Once you begin to flow and build some heat, try these variations in your inversion practice and have some fun.
Here are 5 handstand variations to help you build strength and confidence in your handstand practice:
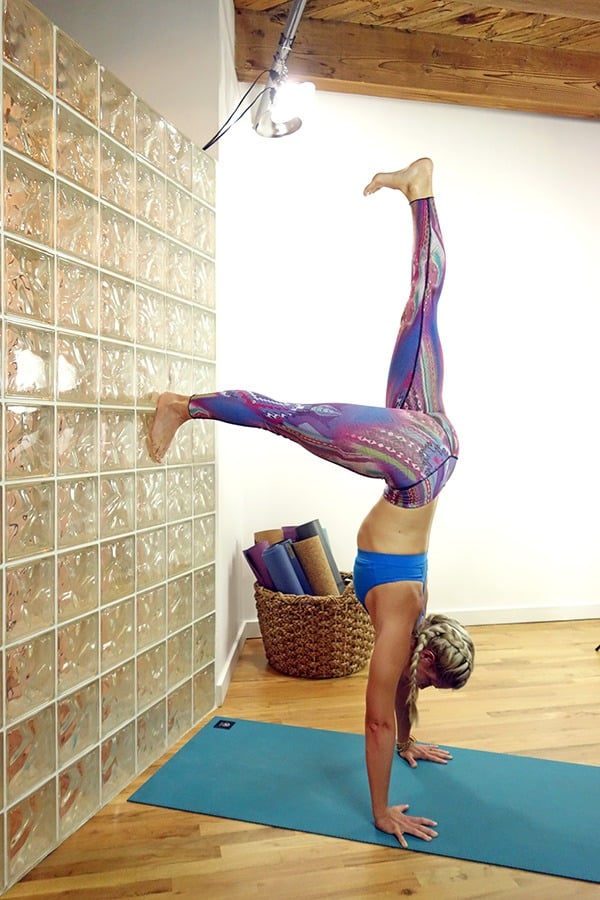
1. Kick onto the wall
Some of us are so grateful for the wall and its amazing support in our yoga practice that we have given it a name . . . enter Paul the Wall. He is fantastic. So find Paul the Wall in your house that is clear of pictures, windows and furniture.

Let’s try it! Here’s how:
- Place your hands about 10-12 inches away from Paul and kick up. Allow your feet to rest on Paul as you adjust to being upside down.
- If this variation is still new in your inversion practice, then stay here and focus on your core engagement as well as activating the shoulders by pressing the floor away.
- Use your core to keep your hips stacked on top of your shoulders and you will begin to feel how much strength you need to hold yourself up on your hands.
To continue to feel this stacked alignment, bend your right knee and place the right foot flat on the wall. Again, you will feel the added weight on your shoulders, so back off if it becomes too much.
If you still feel strong, keep the right knee bent and the left leg extended skyward. Here is the catch – the left leg is super engaged, and I mean super duper engaged! Pretend like you are stepping on the ceiling as you begin to feel the left leg work. Take note of this feeling – this is how engaged you want your legs to remain when you’re upside down.
To work on more alignment in this variation, begin to notice if you feel pressure, strain or pain in your lower back. Always try to avoid the “banana back” (when the low back arches) in your handstands. This requires the core to work hard to keep the hips stacked without compromising your spine. If you have heard the cue, “draw the navel to spine” in your yoga classes, try to feel that upside down – it will help you find the core connection and avoid banana backing.
2. L-shape with the wall
Let’s hang out with Paul the Wall some more, shall we? This time we make it more interesting by facing the wall while we still use it for support. This handstand variation may feel more intimidating to some because Paul is no longer there to catch us, but I promise he still helps.
Let’s try it! Here’s how:
- Grab a block and have a seat facing the wall and extend your legs straight so your feet can press flat on the wall (very similar to Staff Pose).
- Take your block and place it next to your hips. This marks the distance from the wall to your hips. Then come into a Downward Dog shape with your heels on the wall and your hands close to your block.
- Begin to slowly walk your feet up the wall and stop when your hips are stacked over your shoulders. You will feel the added intensity on your shoulders but if you are unsure, a friend or mirror can help you find the 90 degree angle.
- Feel free to make any adjustments in the hand placement to find this shape. This is another fantastic way to build strength in the shoulders, and also feel the proper shoulder alignment you need for a handstand.
If you would like to add on, keep one foot on Paul and extend the other leg to stack it on top of your hips. Remember to keep the extended leg engaged, the core tight and hands pressing into the ground. Stay here for a few breaths, and then switch legs and continue to build strength.
If you are still feeling strong and stable, engage the core, and reach that extended leg up and notice if your foot on the wall become lighter. Keep the engagement until maybe the foot floats off the wall and you find yourself in a solid handstand.
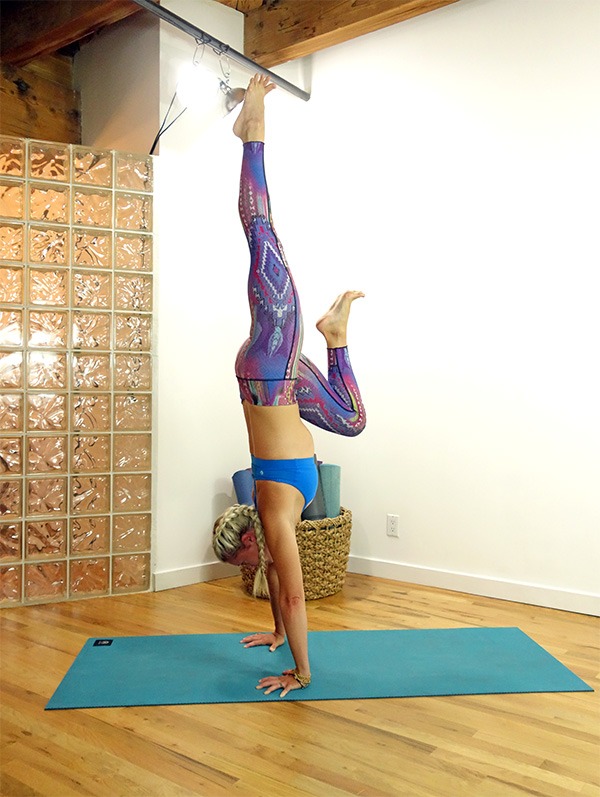
3. Knee-to-chest
This was the first variation where I was able to find balance, control and comfort in my handstand journey. For me, this variation allowed me to lead with my hips, keep them stacked above my shoulders and find the core connection to maintain proper alignment. Feel free to keep Paul close by as you practice this variation.
Let’s try it! Here’s how:
- Start in Down Dog, and give yourself a few breaths to try and remove the mental chit chat going on (there will be more dialogue in your head than at a beauty salon).
- Step the right foot forward so your right knee is tucked close to your chest. Shift your shoulders forward to stack on top of your wrists and lift your left leg as you press the right foot off the mat (knee still tucked into chest).
- Keep the left leg engaged – remember what it felt like when we used the wall?
- From here, keep the shoulders stacked over wrists, your core and flying leg (left leg) engaged, and go for some handstand hops. Repeat on both sides.
Focus on leading with your hips and using your core to keep the hops controlled. Keep playing with the hops – you might just find some glorious hang time in the process!
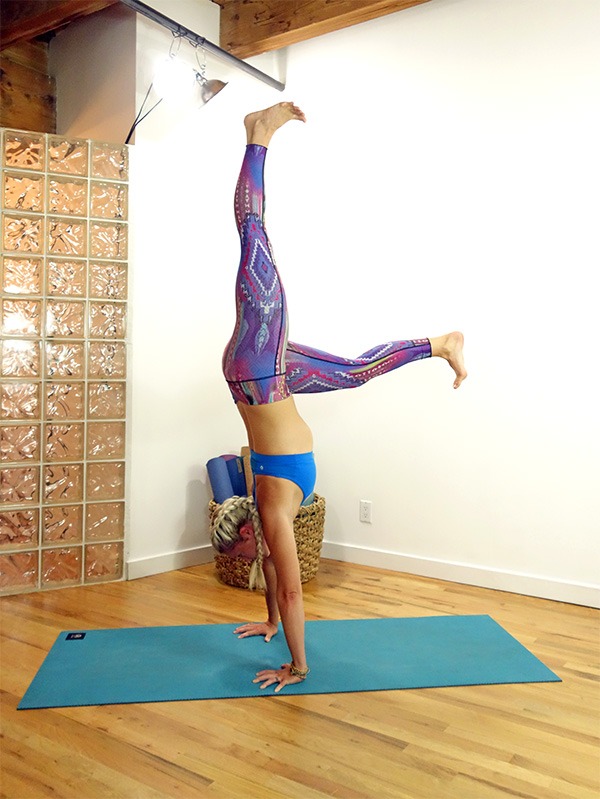
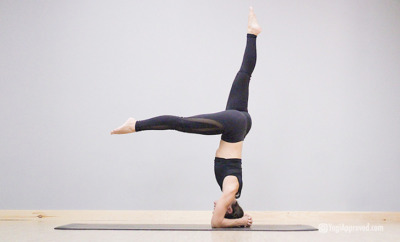
4. L-shape
The next variation adds a little more complexity to your handstand because we extend the leg instead of keeping it close to the body. By extending the leg, we add more intensity to our core and begin to learn where our legs need to be when we are upside down (which is harder than it sounds). This variation is more intense, but a great way to build strength for a straight up handstand.
Let’s try it! Here’s how:
- Find your Down Dog, deep breaths, quiet mind (maybe there are only a couple people in the beauty salon this time) and find the same hop-up prep as the knee-to-chest variation.
- Explore this variation by coming into your bent or tucked knee handstand first. When you feel solid with hang time, slowly begin to straighten the bent knee.
- You will notice the shift in the hips, the core really fired up and the balance start to change. Good!
Your next steps are to play with that shift in balance. This will grow your awareness of your body and how it feels upside down. You will soon feel the connection with your core, hips, chest and shoulders and how to use them while inverted.
When you begin to feel more comfortable, try to kick up into an L-shape handstand and skip the knee to chest transition. Your focus here is to keep the core engaged as soon as you kick up. Both legs are active and working for you as you continue to press into the ground.
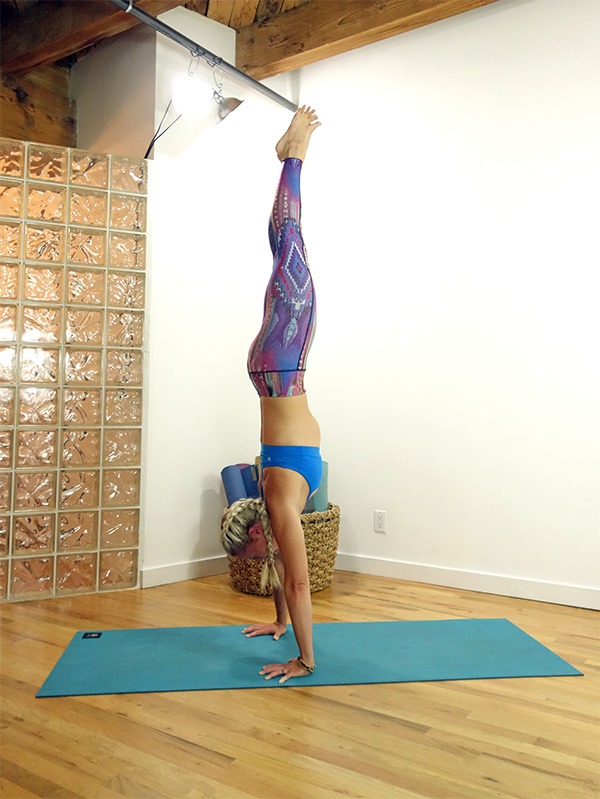
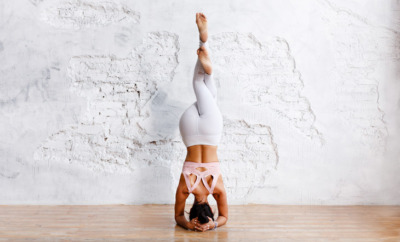
5. Straight up handstand
Handstand requires some serious strength, alignment, spacial awareness, connection and focus. Lucky for us, we’ve been working towards it through the previous four variations, so when you feel ready, give it a try! This took me quite a while to figure out and find hang time, but is now one of my favorite poses because of its intensity.
For me, this asana is about meditation while being active – the opportunity to be fully connected with my breath and with my body, to be able to clear the mental chatter and feel strong and empowered. I first found a full handstand from the knee-to-chest variation we practiced earlier.
Let’s try it! Here’s how:
- Come into your handstand with your knee toward your chest and find your alignment.
- Focus on the hips and core remaining as one, and activate both legs – especially the adductors – as you extend the bent leg up to meet the other.
- Move slowly and with control, staying connected to your breath, your core and your entire body.
- Once your foot meets the other, pretend there is a block in between your thighs and actively squeeze them together.
You will feel the ebb and flow of your body. The smallest shift can alter your entire balance. But this is all part of the practice.
Again, if you want to try for a harder transition, move from your L-shape handstand to your straight up handstand. Same rules apply: move with intention and connect with your body and breath.
Handstanding is a beautiful addition to my yoga practice that has allowed me to learn things about myself I did not know were true. My handstand practice has given me strength, not only physically but mentally. Through it, I was taught patience, perseverance, humility, a love for my body, possibility and more. Plus handstanding is just plain fun!
I do want to warn you . . . this will become an addiction. Handstanding is so much fun. And you may annoy and even embarrass your loved ones with your handstand shenanigans. But don’t worry – they will come around soon, and may just find their feet up and head down too. Handstand on, yogis!
Talk to us! How is your handstand journey going? Have you found any of these variations helpful with building strength and feeling proper alignment in your handstand? We would love to hear your experiences and any other tips you have found along the way!
Take Michelle’s Learning to Handstand online course
This article has been read 40K+ times. Bada bing!
You May Also Enjoy

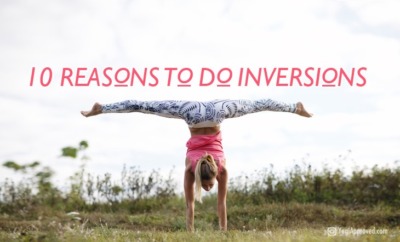
Inversions are any yoga pose where the head is below the heart. From improved circulation to increased immunity, here is why you should get upside down!
Read »

Don't Miss These


This Month's Letter
From the Editor
Monthly motivation and food for
thought from our founder.


Comments